Brad Hays
-
Posts
4 -
Joined
-
Last visited
Brad Hays's Achievements
")


-
I recently got a set of 3" buffing/polishing pads off Amazon and I need to get a better understanding about how to use them in general. If there's a tutorial out there that explains them I'd appreciate a link. I don't have the chart in front of me right now, but I believe the instructions that came with them indicated the orange foam pad was for harder cutting, the blue and yellow foam pads would be for medium cutting/polishing, and the black and white foam pads are for fine polishing. Do all foam polishing pads follow this same color / grade code regardless of the manufacturer?
-

Saving this '02 Taurus clear coat
Brad Hays replied to Brad Hays's topic in General Automotive Discussion
Thanks for the advice guys. Last thing. If I order some base color coat from touchupdirect, do I have to use THEIR 2K clear or can I use a different brand like Dupli-Color? -
Brad Hays changed their profile photo
-
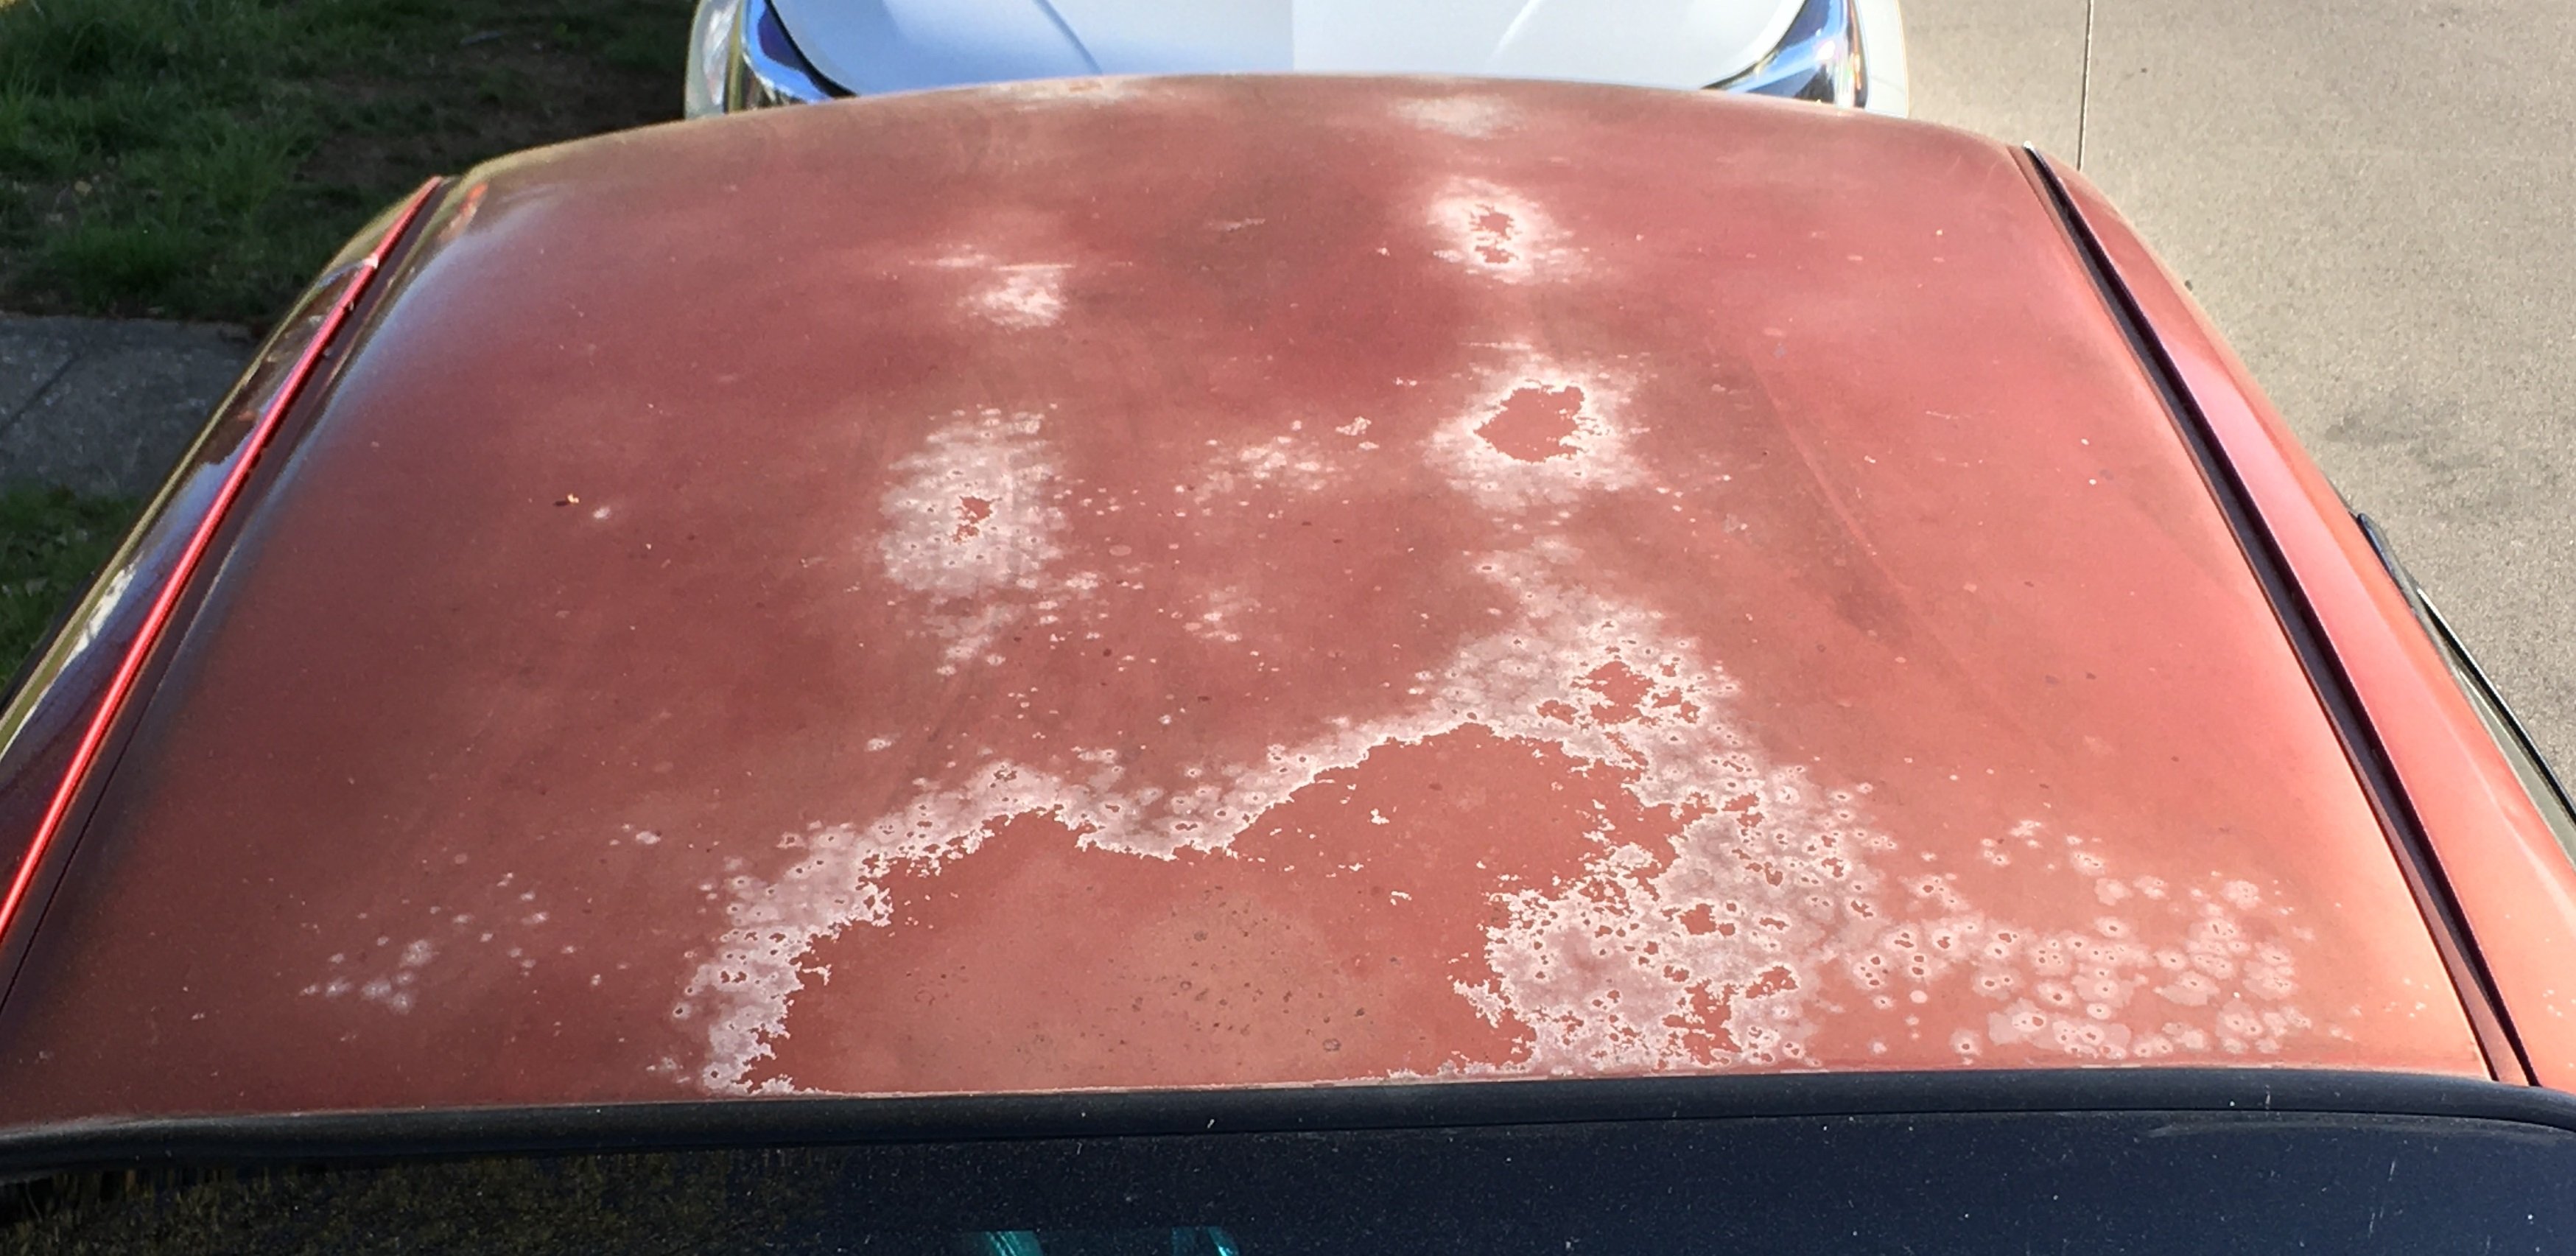
I've got this '02 Taurus that has aged unusually badly on the hood roof and trunk top, and if I can just get these parts addressed the car will look so much better. I'm not aiming for anything close to perfect...just trying to make these look better so your eye isn't drawn right to them. Rest of the body's paint isn't bad at all. Hopefully what I'm seeing here is just the clear coat failing and all it needs is a sanding, 2k clear applied, some high grit sanding, and buffing. The directions I've found so far are to first sand with 600 all over and especially over where the edge of the clear is peeling up. Clear coat, sand with 1500, then buff. Sound about right? If it's so far degraded that it actually needs some color work, it's ok I'd rather not deal with that part. I just want to throw about $100 bucks at it and if it looks better then I'll be happy. Any suggestions on how I should approach this? Thanks.

-
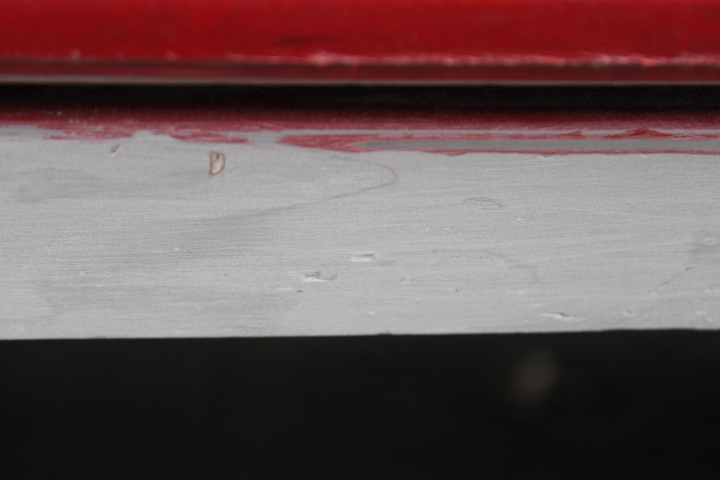
Just finishing up this Bondorific patch job on my rocker panel (and opposite side rear panel section) and need advice on how to finish things up. I believe I've read that bondo can be spread as thin as you want as long as it has good mechanical adhesion, but I'm wondering as I do these last steps if I might could use something else meant for filing in more nuanced scratches and little valleys. Basically I've got both panels shaped about like I want (exposing some sheet metal along the way) and now I just need to fill in the 36 grit sanding marks on the bondo, cover the exposed aluminum, sand up to 800? grit, then go at it with color coats and then clear. 2 questions are... - What should I use to fill in the bondo scratches and cover the exposed aluminum? body panels?...possibly some kind of high build primer? - What's the minimum grit you need to sand (the primer?) up to before applying the color and clear coats? I've been told anywhere between 400-800. For the bonding between the color and clear coats I'll be timing them to take advantage of chemical adhesion. note: Since this picture was taken I've added another skim coat of bondo to fill in those small bondo divots, but I should have those same 36 grit scratches after I sand it back down again.
-
- 1
-